DIY Rustic Snowflake Sign
I love making craft projects for Christmas time. It’s one of my most favorite holidays, it’s so festive and fun! When Christmas is over, and we take down all the decorations it can feel very boring. Why not decorate for winter and keep the festive feeling! I came up with this DIY Rustic Snowflake sign to keep up all winter! Dollar Tree never lets me down lately, they have really stepped up their game with the craft supplies, and I found just what I went looking for! Follow along, you will not be disappointed!
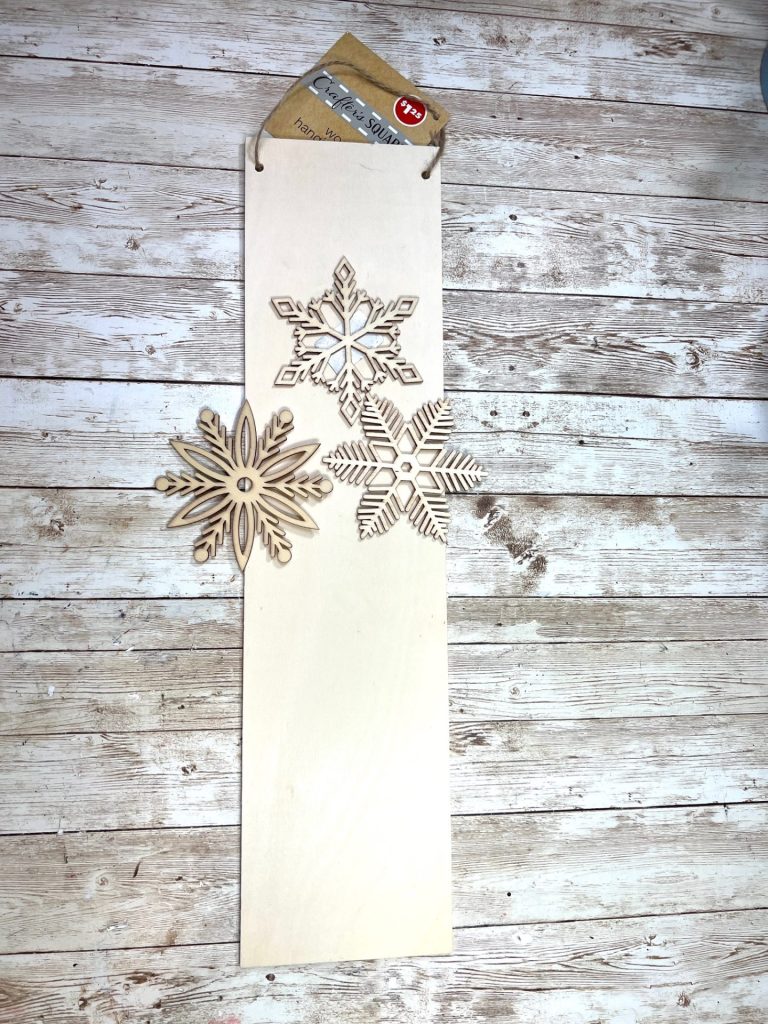
Supplies:
Dollar Tree Sign
Wooden Snowflakes
Chalk Paint
Petroleum Jelly
Antique Wax
Twine

First, I removed the hanger from the sign, and then gave it a coat of the Antique Wax.

Second, I smeared petroleum jelly over the front of the sign.

Third, I brushed on a good amount of the Chalk Paint. I didn’t cover it completely, just made sure it was mostly covered.

Fourth, once it was dry, I took a paint scraper and scraped off a fair amount of the paint, leaving large amounts throughout.

Fifth, I used the Antique Wax and gave the wooden snowflakes a coating.

Sixth, I went over the snowflakes lightly with the Chalk Paint, making sure you could still see the Antique Wax underneath.

Seventh, I glued the snowflakes down the center of the sign.

Finally, I cut a length of twine, threaded it through the pre existing holes and tied the end off creating a hanger.

Here it is all finished, how do you think it turned out? I love this project, the snowflake designs go perfect with the rustic look of the sign. I definitely can’t wait to get this craft project over to my craft booth, I always seem to sell my signs the quickest and no doubt this will not be the exception! What do you think, will you be giving this DIY Rustic Snowflake Sign a try for yourself?
If you enjoyed this DIY, check out more below!
- DIY Turkey Sign
- DIY Thankful Turkey Pumpkin
- Dollar Tree Pumpkin Duo
- Thrifted Shelf Makeover
- Dollar General Santa Sign
FACEBOOK|INSTAGRAM|PINTEREST|YOUTUBE
PIN FOR LATER!