DIY Vintage Style Ghost Box
I love to create crafts for Halloween! There never seems to be an end to the different ideas that come to me for projects! I definitely had an idea in my head when I went hunting for supplies for this craft, and I was so excited when I found everything I needed! Follow along with this DIY Vintage Style Ghost Box, and decide for yourself if you want to give one a try! I don’t think you’ll be disappointed!
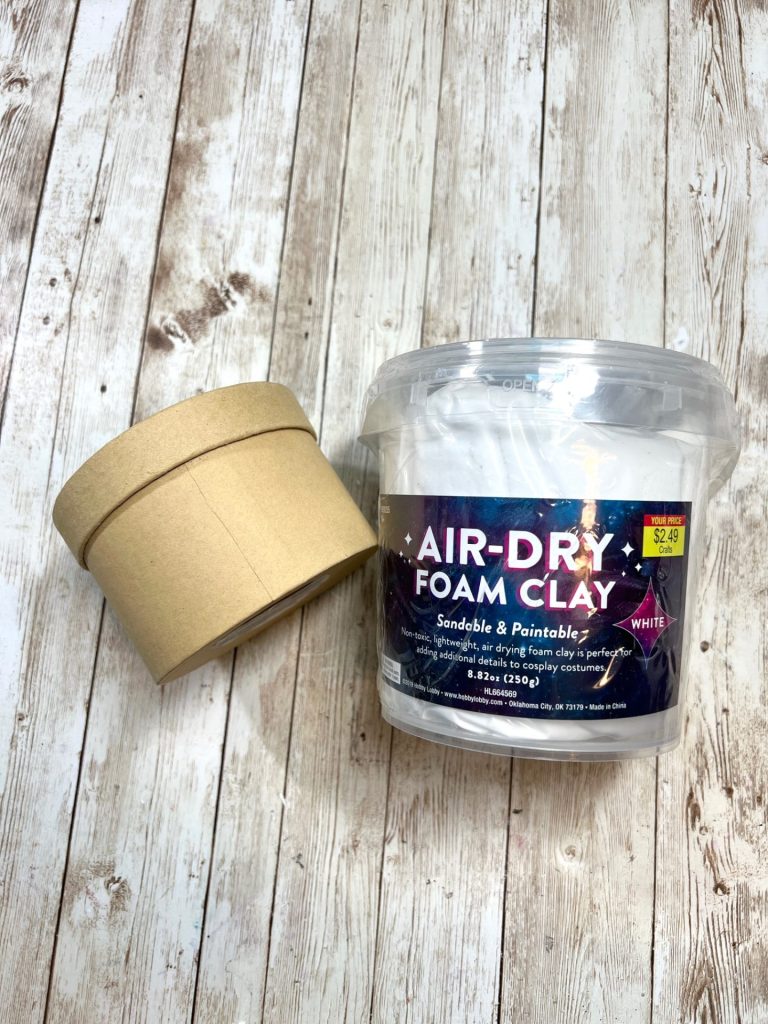
Supplies:
Air Dry Clay
Paper Mache Round Box
Halloween Style Scrapbook Paper
Ribbons
Paints – White, Black and Pink
Coffee Stain
Round Metal Tag
Letter Stamps
DMC Floss

First, I took the air dry clay, and made what I thought a ghost shape to be.

Second, I used the black paint and painted the bottom and top of the round box, creating stripes. I then painted the rim of the top of the box.

Third, I cut strips of scrapbook paper to fit around the round box as well as the rim of the lid. I then cut a circle to fit the top of the lid.

Fourth, I used Mod Podge to secure the piece of scrapbook paper around the round box. I then trimmed off any extra paper.

Fifth, I used Mod Podge to secure the round piece of scrapbook paper to the top of the lid, and the thin strip around the rim.

Sixth, I used an ink blending tool with some of the black paint to go around the top and bottom of the round box. I then did the same with the lid.

Seventh, I used the end of a paintbrush to create the eyes and mouth on the ghost. I then painted them with the black paint.

Eighth, I used DMC Floss to do a running stitch around the ribbon I chose, creating a circle with it.

Ninth, I put the ribbon in a cup of coffee stain.

Tenth, I removed the ribbon from the coffee stain and dunked the ghost in it. I then set them aside to dry.

Eleventh, I glued the ribbon to the lid of the box.

Twelve, I glued another ribbon around the base of the ghost.

Thirteen, I glued the ghost to the center of the lid.

Fourteen, I took some black and gold ribbons and tied them around the base of the ghost, making a bow.

Finally, I stamped “BOO” to the round metal tag and attached it to the bow. I then added a small amount of pink to the ghosts cheeks and a small amount around his body.

Here it is all finished, how do you think it turned out? I love him, he’s just the cutest! I can’t wait to get this project into my craft booth, I’m thinking maybe I should have made a couple of these! I’m definitely thinking this DIY Vintage Style Ghost Box will be a big hit! I love when my ideas come to life and look just how I imagined them to be! So what do you think, will you give this project a try?
If you enjoyed this DIY, check out more below!
FACEBOOK|INSTAGRAM|PINTEREST|YOUTUBE
PIN FOR LATER!