Rustic Wood Slice Ornaments
When I bought a bunch of these wood slices, I made sure to buy extra because I knew I wanted to make some ornaments with them. Christmas crafts are some of the most fun to make and I love doing them. With these wood slices I can make them rustic, which I love to incorporate into my crafting whenever I can! Follow along with these Rustic Wood Slice Ornaments, I don’t think you’ll be disappointed!
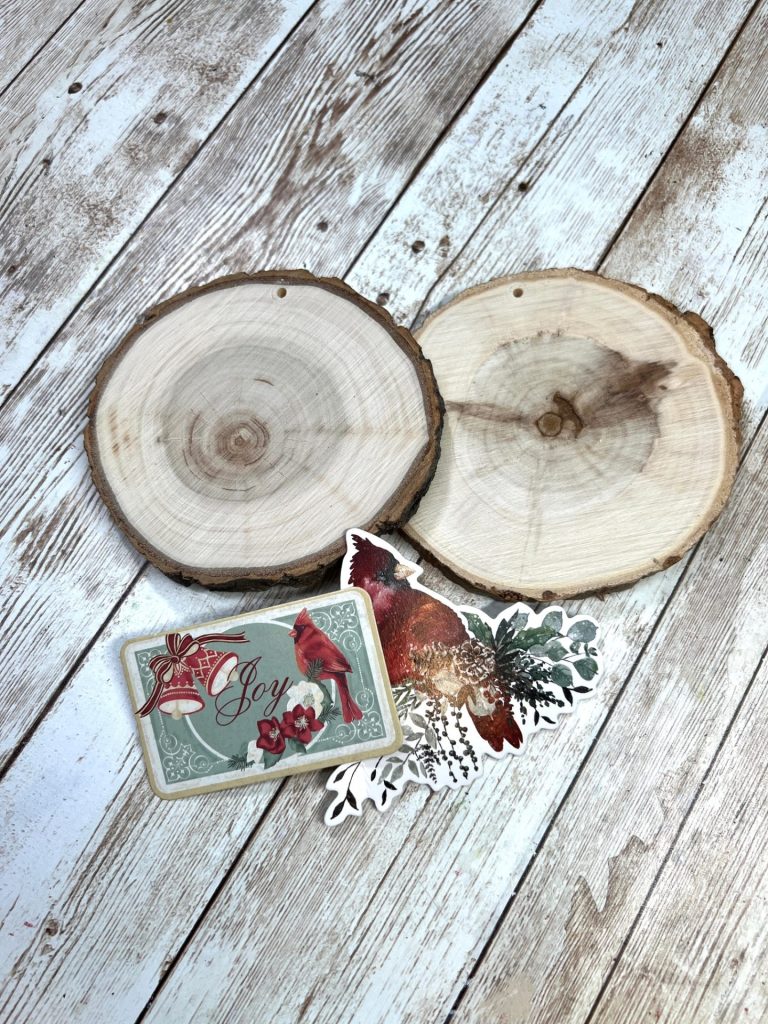
Supplies:
Wood Slices
Christmas Stickers
Paint Your Choice of Colors
Glitter
Twine
Greenery
Rusty Bell

First, I painted the center of two wood slices with the colors I chose.

Second, I chose two Christmas stickers I liked and put one onto each of the wood slices.

Third, I added some glitter to each of the wood slices.

Fourth, I cut two lengths of twine, threaded one through each of the holes at the top of the wood slice and tied them off.

Finally, I cut more twine, longer this time. I then tied them into bows and glued a small piece of greenery then the bow to the top of the ornament. I then added a rusty bell to each.

Here they are all finished, how do you think they came out? I love them, they are so festive and would look amazing hanging on the tree! I knew I saved some of these wood slices for a good reason, and I’m glad I kept a bunch, because I think I may just have to make more! These Rustic Wood Slice Ornaments are sure to be a huge hit in my craft booth, and I can’t wait to get them over there! What do you think, will you be making these too?
If you enjoyed this DIY, check out more below!
- DIY Turkey Sign
- DIY Thankful Turkey Pumpkin
- Dollar Tree Pumpkin Duo
- Thrifted Shelf Makeover
- Dollar General Santa Sign
FACEBOOK|INSTAGRAM|PINTEREST|YOUTUBE
PIN FOR LATER!